It is important to master the art of lighting to produce high-quality video clips. Proper lighting will enhance the mood, clarity, and visual appeal of your video clips. Some principles and tips to help you achieve excellent lighting for streaming your video production include:
Table of Contents
Get Familiar With the Basics
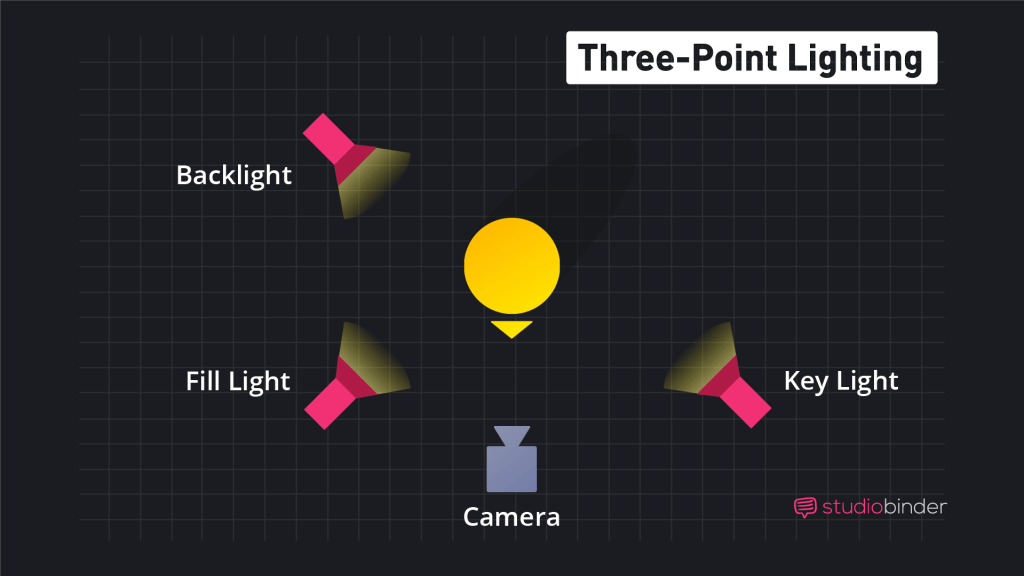
Key Light: This is the primary light source and it is usually the brightest. It illuminates your subject.
Fill Light: This provides a more balanced look by reducing shadows created by the key light.
Backlight: Placed behind the subject. It will add depth to the scene and separate them from the background.
Use Natural Light
If you want to shoot soft or warm tones videos you need to leverage natural light. Shoot your videos during the golden hours (early morning or late afternoon). Diffuse direct sunlight to avoid harsh shadows. You can use curtains and diffusers, or shoot in shaded areas.
Balance and Contrast
Ensure you have maintained a balance between the key and fill lights. This will provide you with proper exposure and reduce harsh shadows. High contrast creates a dramatic effect, while low contrast produces a softer look. Experiment with the contrast to achieve the desired mood.
Choose Adequate Color Temperature
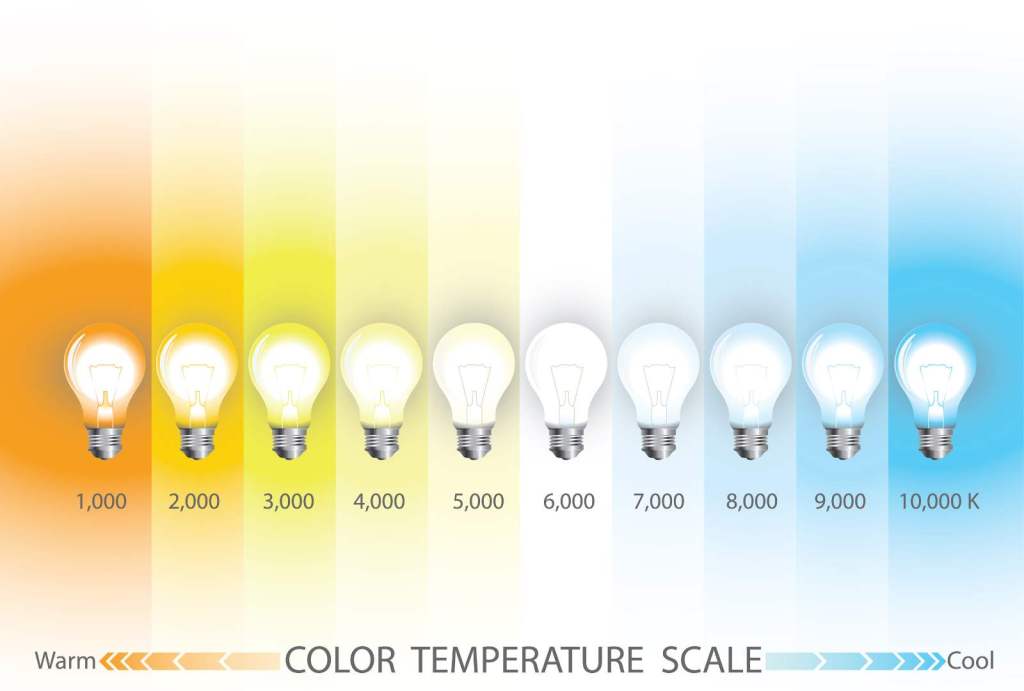
To create a cohesive and natural look, match the color temperature of your lights. The two most common color temperatures are daylight (around 5600K) and tungsten (around 3200K). Daylight has a bluish tone, while tungsten emits a warmer, yellowish light.
Using lights with the same color temperature helps ensure that your videos have a consistent and natural appearance. If you find that your lights have different color temperatures, you can use color correction gels to adjust them. For instance, placing a blue gel on a tungsten light can make it match the daylight color temperature.
Avoid Overexposure and Underexposure
Ensure that your videos are well-lit without overexposing highlights or underexposing shadows. Use tools like zebras or histograms on your camera to check the levels of your exposure.
Learn Three-Point Lighting Technique
For a professional look, know how to set up lighting for streaming with the three-point lighting setup. This setup consists of three main lights: the key light, the fill light, and the backlight whish we explained in the beginning of the article.
Source: https://www.studiobinder.com/blog/three-point-lighting-setup/
The key light is the primary source of light and is typically positioned at a 45-degree angle from the subject to create highlights and shadows. The fill light is placed on the opposite side of the key light to reduce shadows and balance the lighting. The backlight, also known as the rim or hair light, is placed behind the subject to create a sense of depth and separate them from the background. Adjust the angles and intensities of lights to highlight specific features. It will also create dimension.
Modify Light Sources
Use diffusers to soften harsh light. This will also help create a more flattering look when lighting. This is because reflectors can bounce light back onto the videos, filling in shadows.
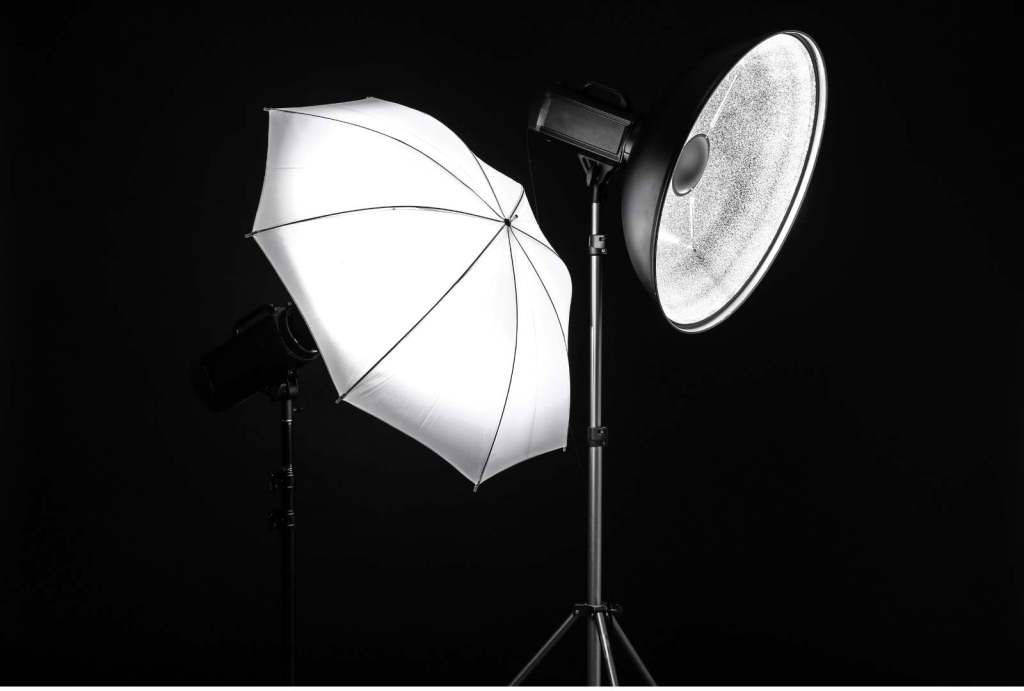
Common types of diffusers include softboxes, umbrellas, and diffusion panels. To use a diffuser, place it between your light source and the subject. This will help to spread the light more evenly.
Experiment With Background Lighting
Light up the background apart to add depth and interest to your videos. Use colored lights or gobos to create unique and appealing visual backgrounds.
Consider Practical Lights
Enhance realism in your videos by including practical lights within the scene. Lamps, candles, or other light sources can add character and dimension.
Test and Experiment
Before the actual shoot, test your lighting setup. Experiment with different intensities, combinations, and angles to achieve the desired look.
Continuous Lighting vs. Strobes
Continuous lighting is great for video. It will allow you to see the effects in real-time. Common types of continuous lights include LED panels, fluorescent lights, and tungsten lights.
Strobes are more used in photography but with the right setup, you can adapt them for your videos. For instance, using a strobe in combination with a continuous light can create unique lighting effects and help highlight specific aspects of your scene. To use strobes effectively in video, you might need to sync them properly with your camera settings and use them in a way that enhances rather than disrupts the flow of your video.
Post-processing
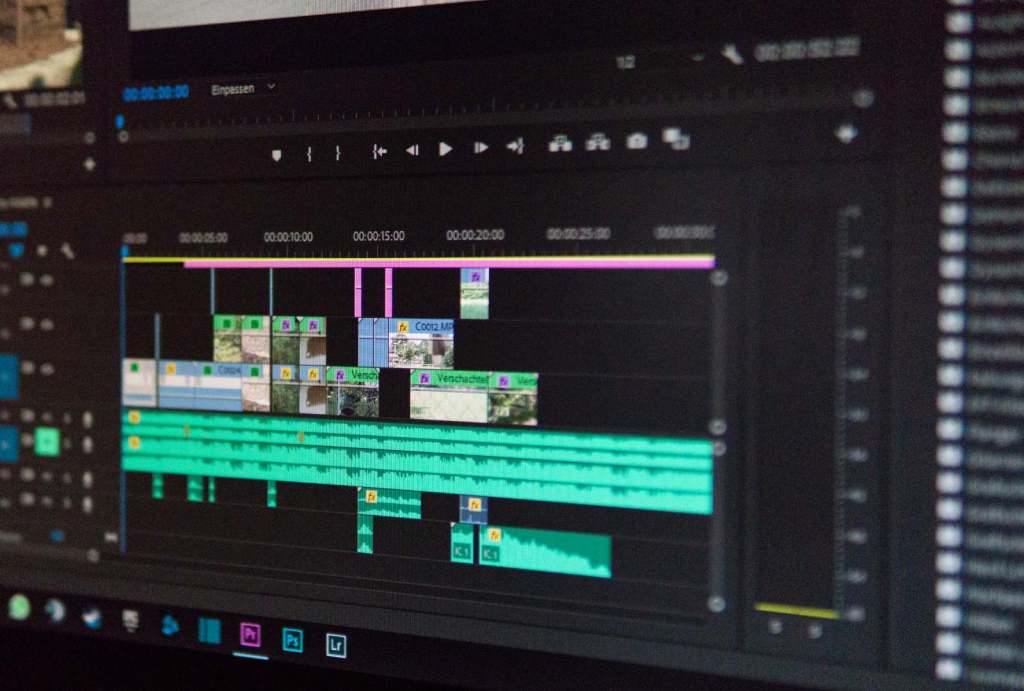
Use post-processing tools to fine-tune your lighting in editing software. Once you have captured your videos, use software like Premiere Pro to correct any color imbalances and adjust exposure levels if needed. It takes practice to master how to set up lighting. So don’t hesitate to experiment and learn from each shoot. Pay attention to the mood and narrative of your video, and tailor your lighting. Stay updated on new lighting equipment and techniques to improve your skills.
The Role Light Plays in Filming Videos
Lighting plays a multifaceted role in the creation of high-quality video clips. Here are some key aspects that light will play in the production of your high-quality videos.
1. Visibility and Clarity:
The primary function of lighting is to enable your audience to see and understand what is happening in the scene. Good lighting allows visibility of your video details, expressions, and important features.
2. Setting the Mood and Atmosphere:
Lighting is important as it contributes to the mood of a scene. Cooler tones may evoke a sense of suspense or drama. Warm tones can create a cozy and intimate atmosphere.
3. Shaping and Defining the Image:
Lighting will help to define the shape and features of your videos. It can emphasize facial expressions, textures, and three-dimensional aspects of the clips. If the lights are well-placed, they add depth to the clips. They will also separate the subject from the background.
4. Conveying Time and Place:
The selection between natural and artificial light can tell the time of day or the setting. Natural light often signifies daytime. Specific artificial lighting setups can mimic different times or locations.
5. Guiding the Viewer’s Attention:
Lighting directs the viewer’s attention to specific elements within the frame. This is achieved through the strategic use of brighter lights on important subjects. Or objects within your lighting for streaming your clips.
6. Creating Visual Interest
Lighting the background can add visual interest and depth to the scene. This is used in interviews, narrative scenes, and product shots. If in your videos you intend to promote a certain product, now you know what to do.
7. Establishing Tone and Genre
The contrast between light, shadow, and intensity of the lighting, will contribute to the tone and genre of the videos. High contrast may evoke a dramatic or noir feel. A soft even lighting is common in romantic genres.
8. Storytelling and Emotion
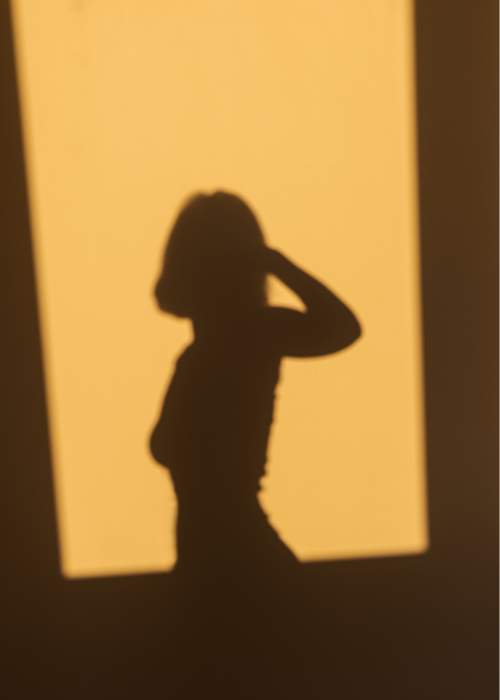
Use lighting to represent emotions or key plot points. For instance, you can create a character in a moment of revelation bathed in a symbolic “aha” light.
9. Consistency Across Shots
Lighting must be consistent across many shots within your clips. This will maintain visual continuity. Also, it is crucial in creating a seamless viewing experience.
10. Aesthetic Considerations
The choice of your lighting will contribute to the visual style of your films. They can be naturalistic or stylized, depending on your artistic vision.
11. Technical Considerations
Effective lighting is critical for achieving correct exposure in each of your shots. It prevents overexposed highlights or underexposed shadows. Also, effective lighting helps maintain color consistency throughout the film. It ensures that skin tones and other elements look natural.
In summary, light in clip production is not just about illumination. It’s a powerful tool that evokes emotions, guides the viewer’s experience. It contributes to the visual language of the videos. Mastering the art of lighting is an ongoing process. It involves both technical skill and creative intuition.
Which Lighting Equipment to Use
Choosing the right lighting equipment for shooting video clips depends on various factors. Some of them include; your budget, the type of content you’re creating, and the shooting environment. Here are some essential equipment options you can use for shooting your films.
Continuous Lighting
Softboxes and Umbrellas: They diffuse, soften the light, and reduce harsh shadows. They are used for key and fill lights.
LED Panels: They are portable and versatile. LED panels provide a consistent and adjustable light source. Look for panels with adjustable color temperature for flexibility.
Fluorescent Lights: These are cool and energy-efficient. Fluorescent lights are suitable for creating soft, even lighting.
Tungsten Lights
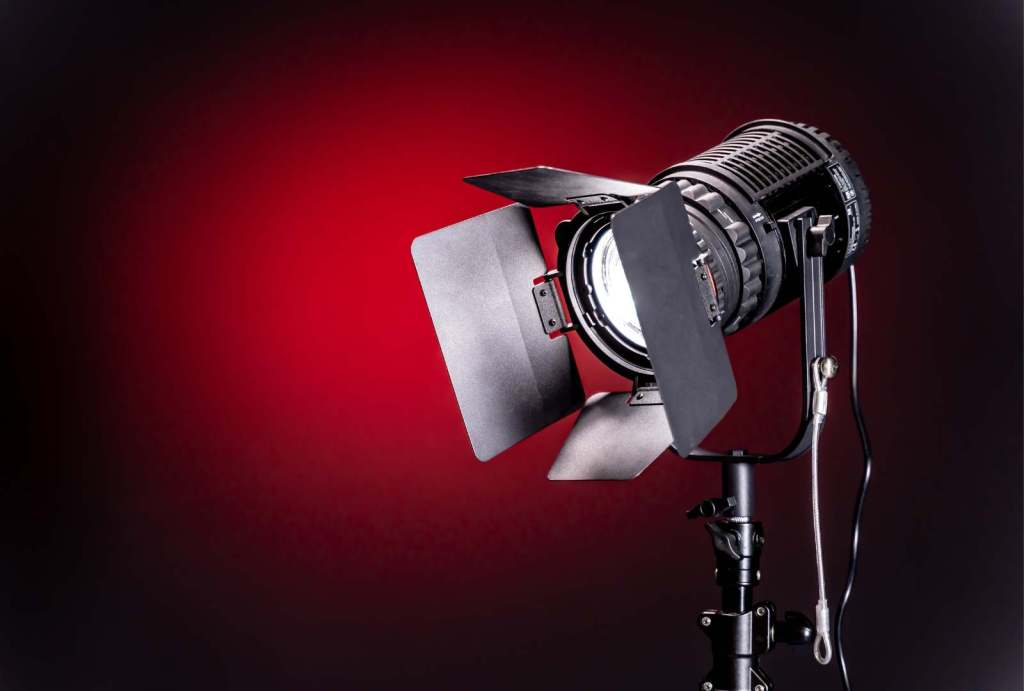
Fresnel Lights: These are focusable lights that provide a concentrated, and directional beam. Due to their ability to create defined shadows, they are often used as key lights.
Open-Faced Tungsten Lights: These are fill lights or background lighting. They are versatile and produce a broad soft light.
LED Fresnel Lights
Portable and Adjustable: LED Fresnel offers the benefits of traditional Fresnel lights. They are more energy-efficient and portable. They allow you to adjust both the focus and intensity of the light thus enhancing the quality of your films.
Ring Lights
Ring lights are circular and provide continuous lighting. They will provide an even, soft, and shadowless desired look in your videos.
Light Stands and Booms
Invest in sturdy light stands that will secure the position of your lights. For overhead lighting or when space is limited, booms are useful.
Modifiers
Invest in flags and diffusers as they will shape and control the quality of light. Flags control the direction of light, while diffusers soften and spread it. Also, go for colored gels because you can use them to adjust the color temperature of your lights. You can also use them to create mood and atmosphere.
Light Meters
A light meter will help you to measure the intensity of light. They will ensure accurate exposure across the entire scene.
Reflectors
Reflectors will bounce light back onto the subject. They will fill in shadows and creating a softer look.
Grip Equipment
Clamps and mounts are crucial for securing lights and modifiers in various positions. Use sandbags to stabilize light stands and prevent them from tipping over.
Lighting Control Systems
Dimmers and remote controls will help you adjust the intensity of your lights. You will make changes without reaching each fixture.
Battery-Powered Lights
Battery-powered lights are convenient for shooting in locations without easy access to power outlets. Ensure they have enough power for your needs.
C-stands
C-stands are versatile and sturdy. They will provide a stable base for your lights and modifiers.

Grids and Snoots
Grids and snoots help in controlling the direction and spread of light. They allow for more precision in your lighting setup.
Consider your specific requirements before you make any order. Also, the type of content you’ll be producing. Start with a basic kit and expand your equipment based on your experience and needs. Finally, keep in mind that quality lighting for streaming is just as important as the quantity. Buy equipment that allows for creative control over the lighting in your video clips.